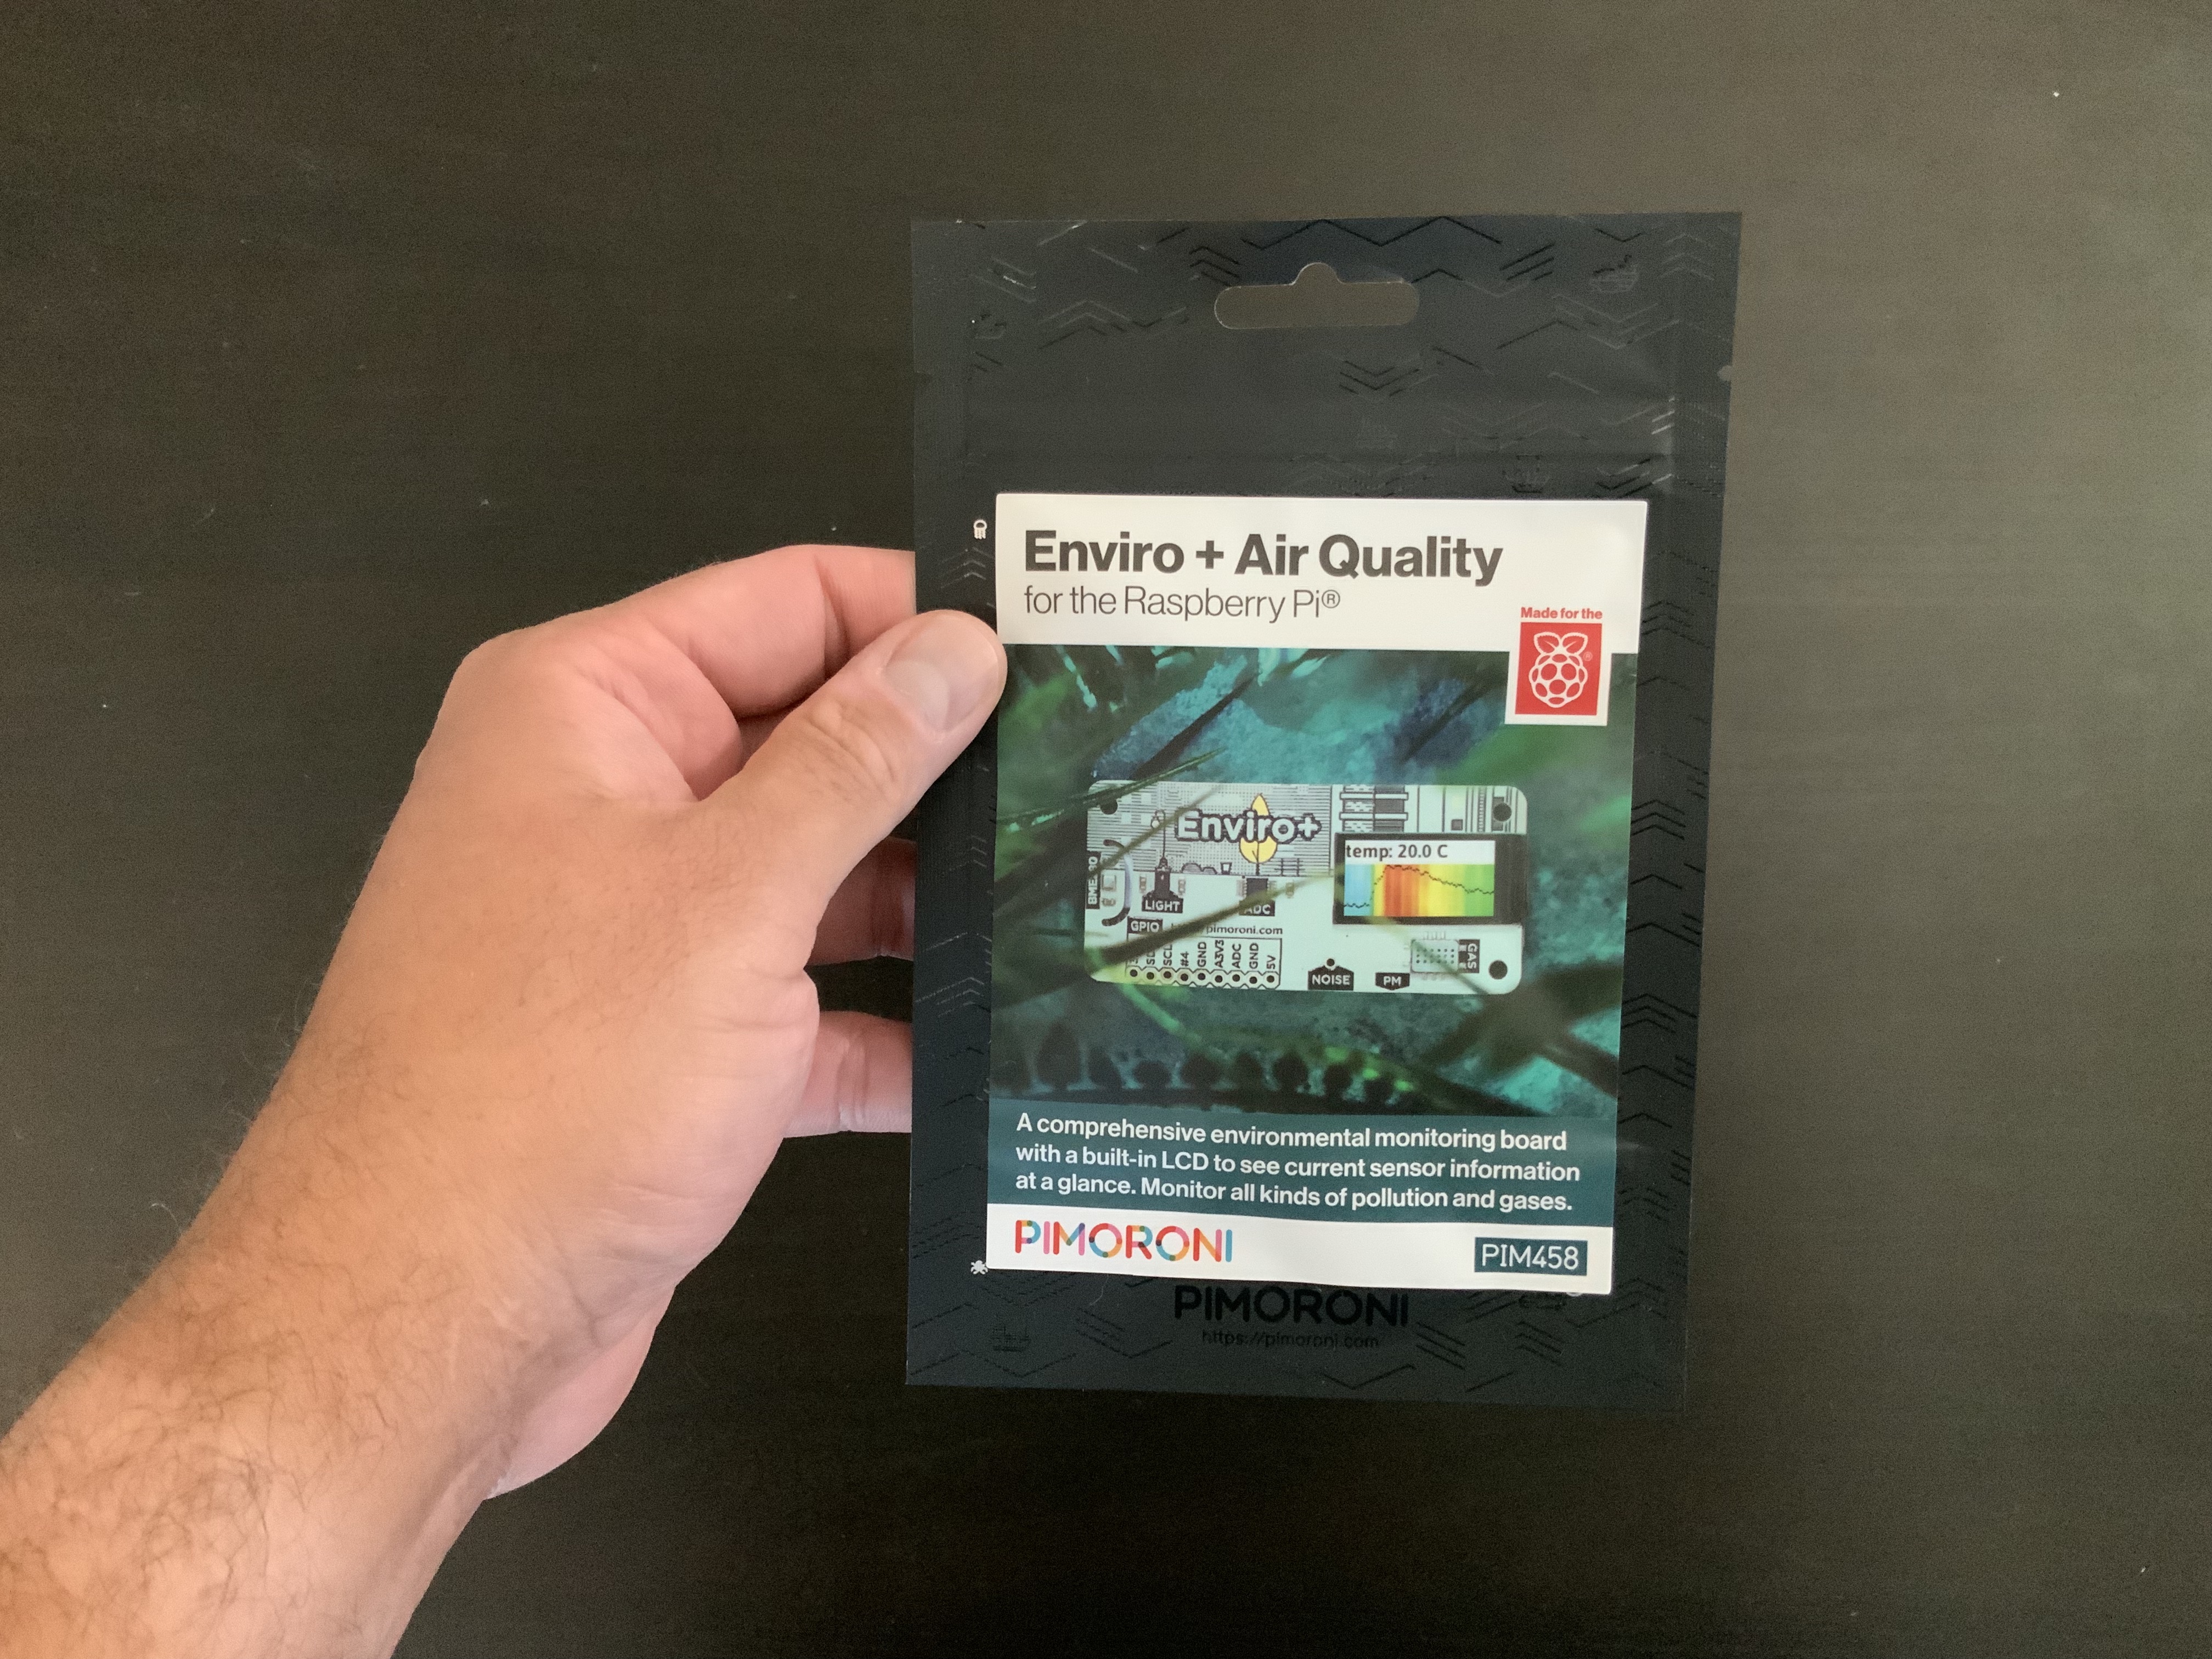
Pimoroni Enviro + Air Quality(PIM458) with Particulate Sensor
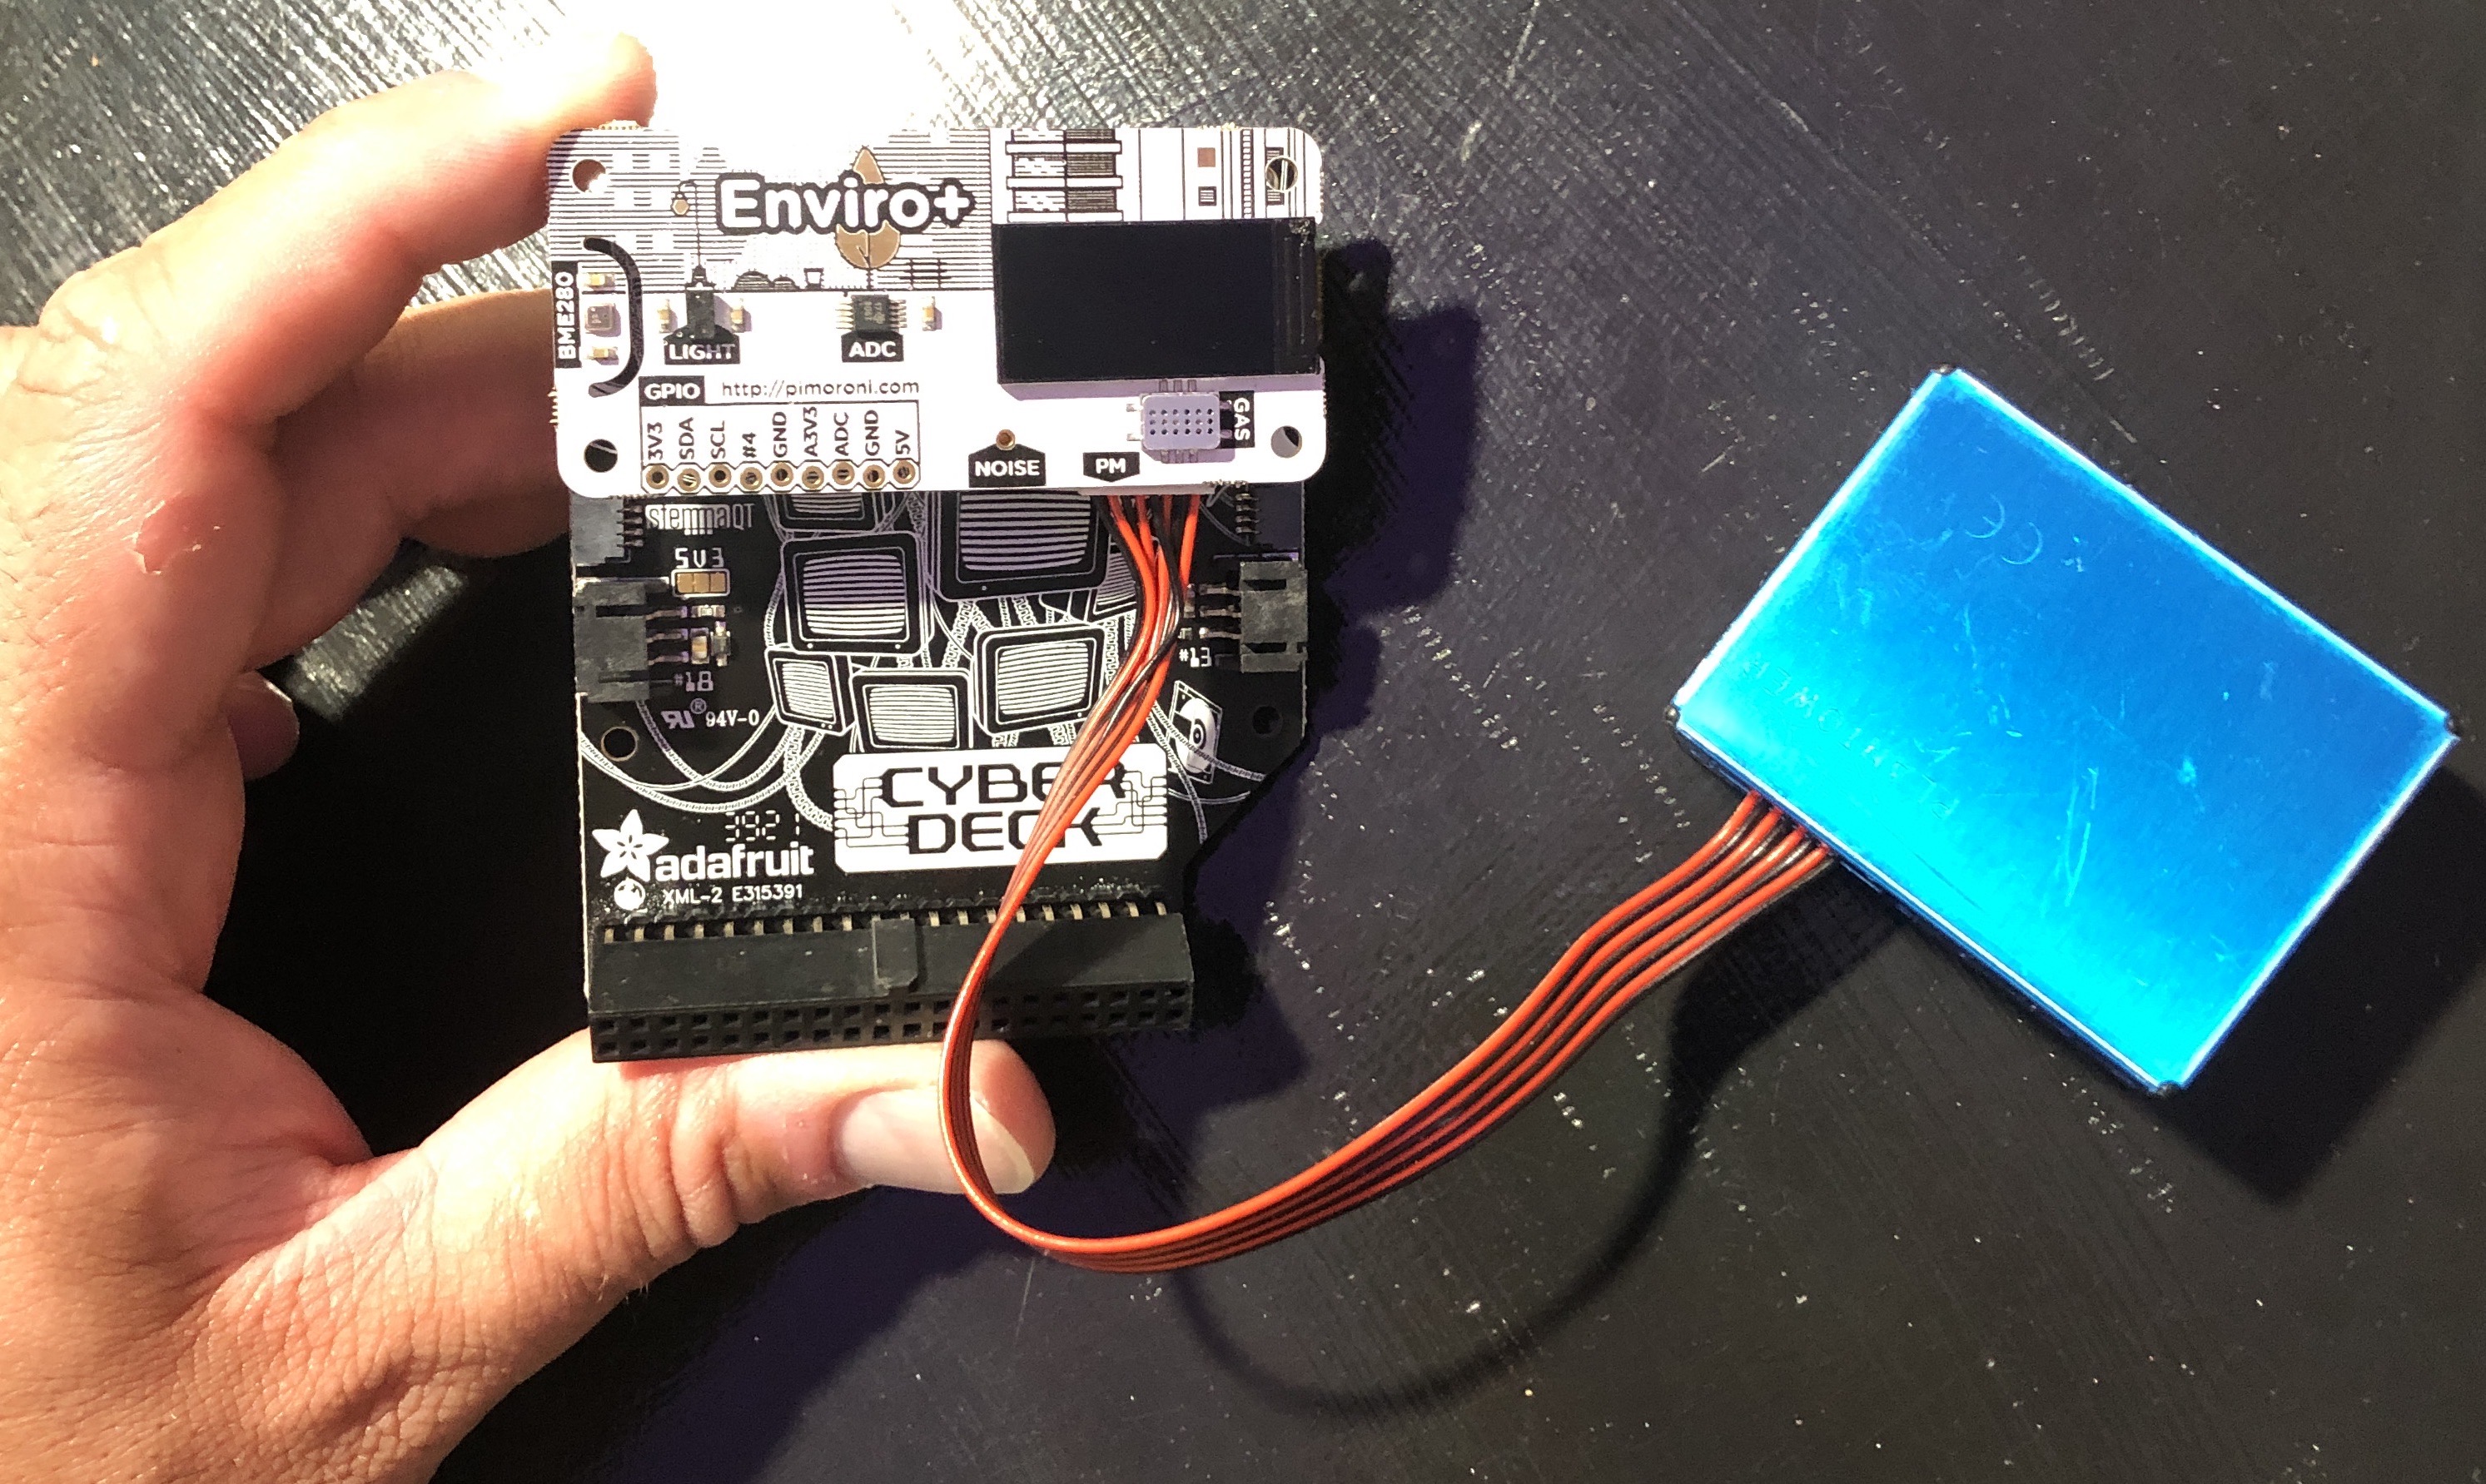
Enviro+ and Cyberdeck Installation
⚠ NOTE: When Connecting/Disconnecting the Cyberdeck and/or Enviro+, shutdown and UNPLUG the RaspberryPi 400 first!
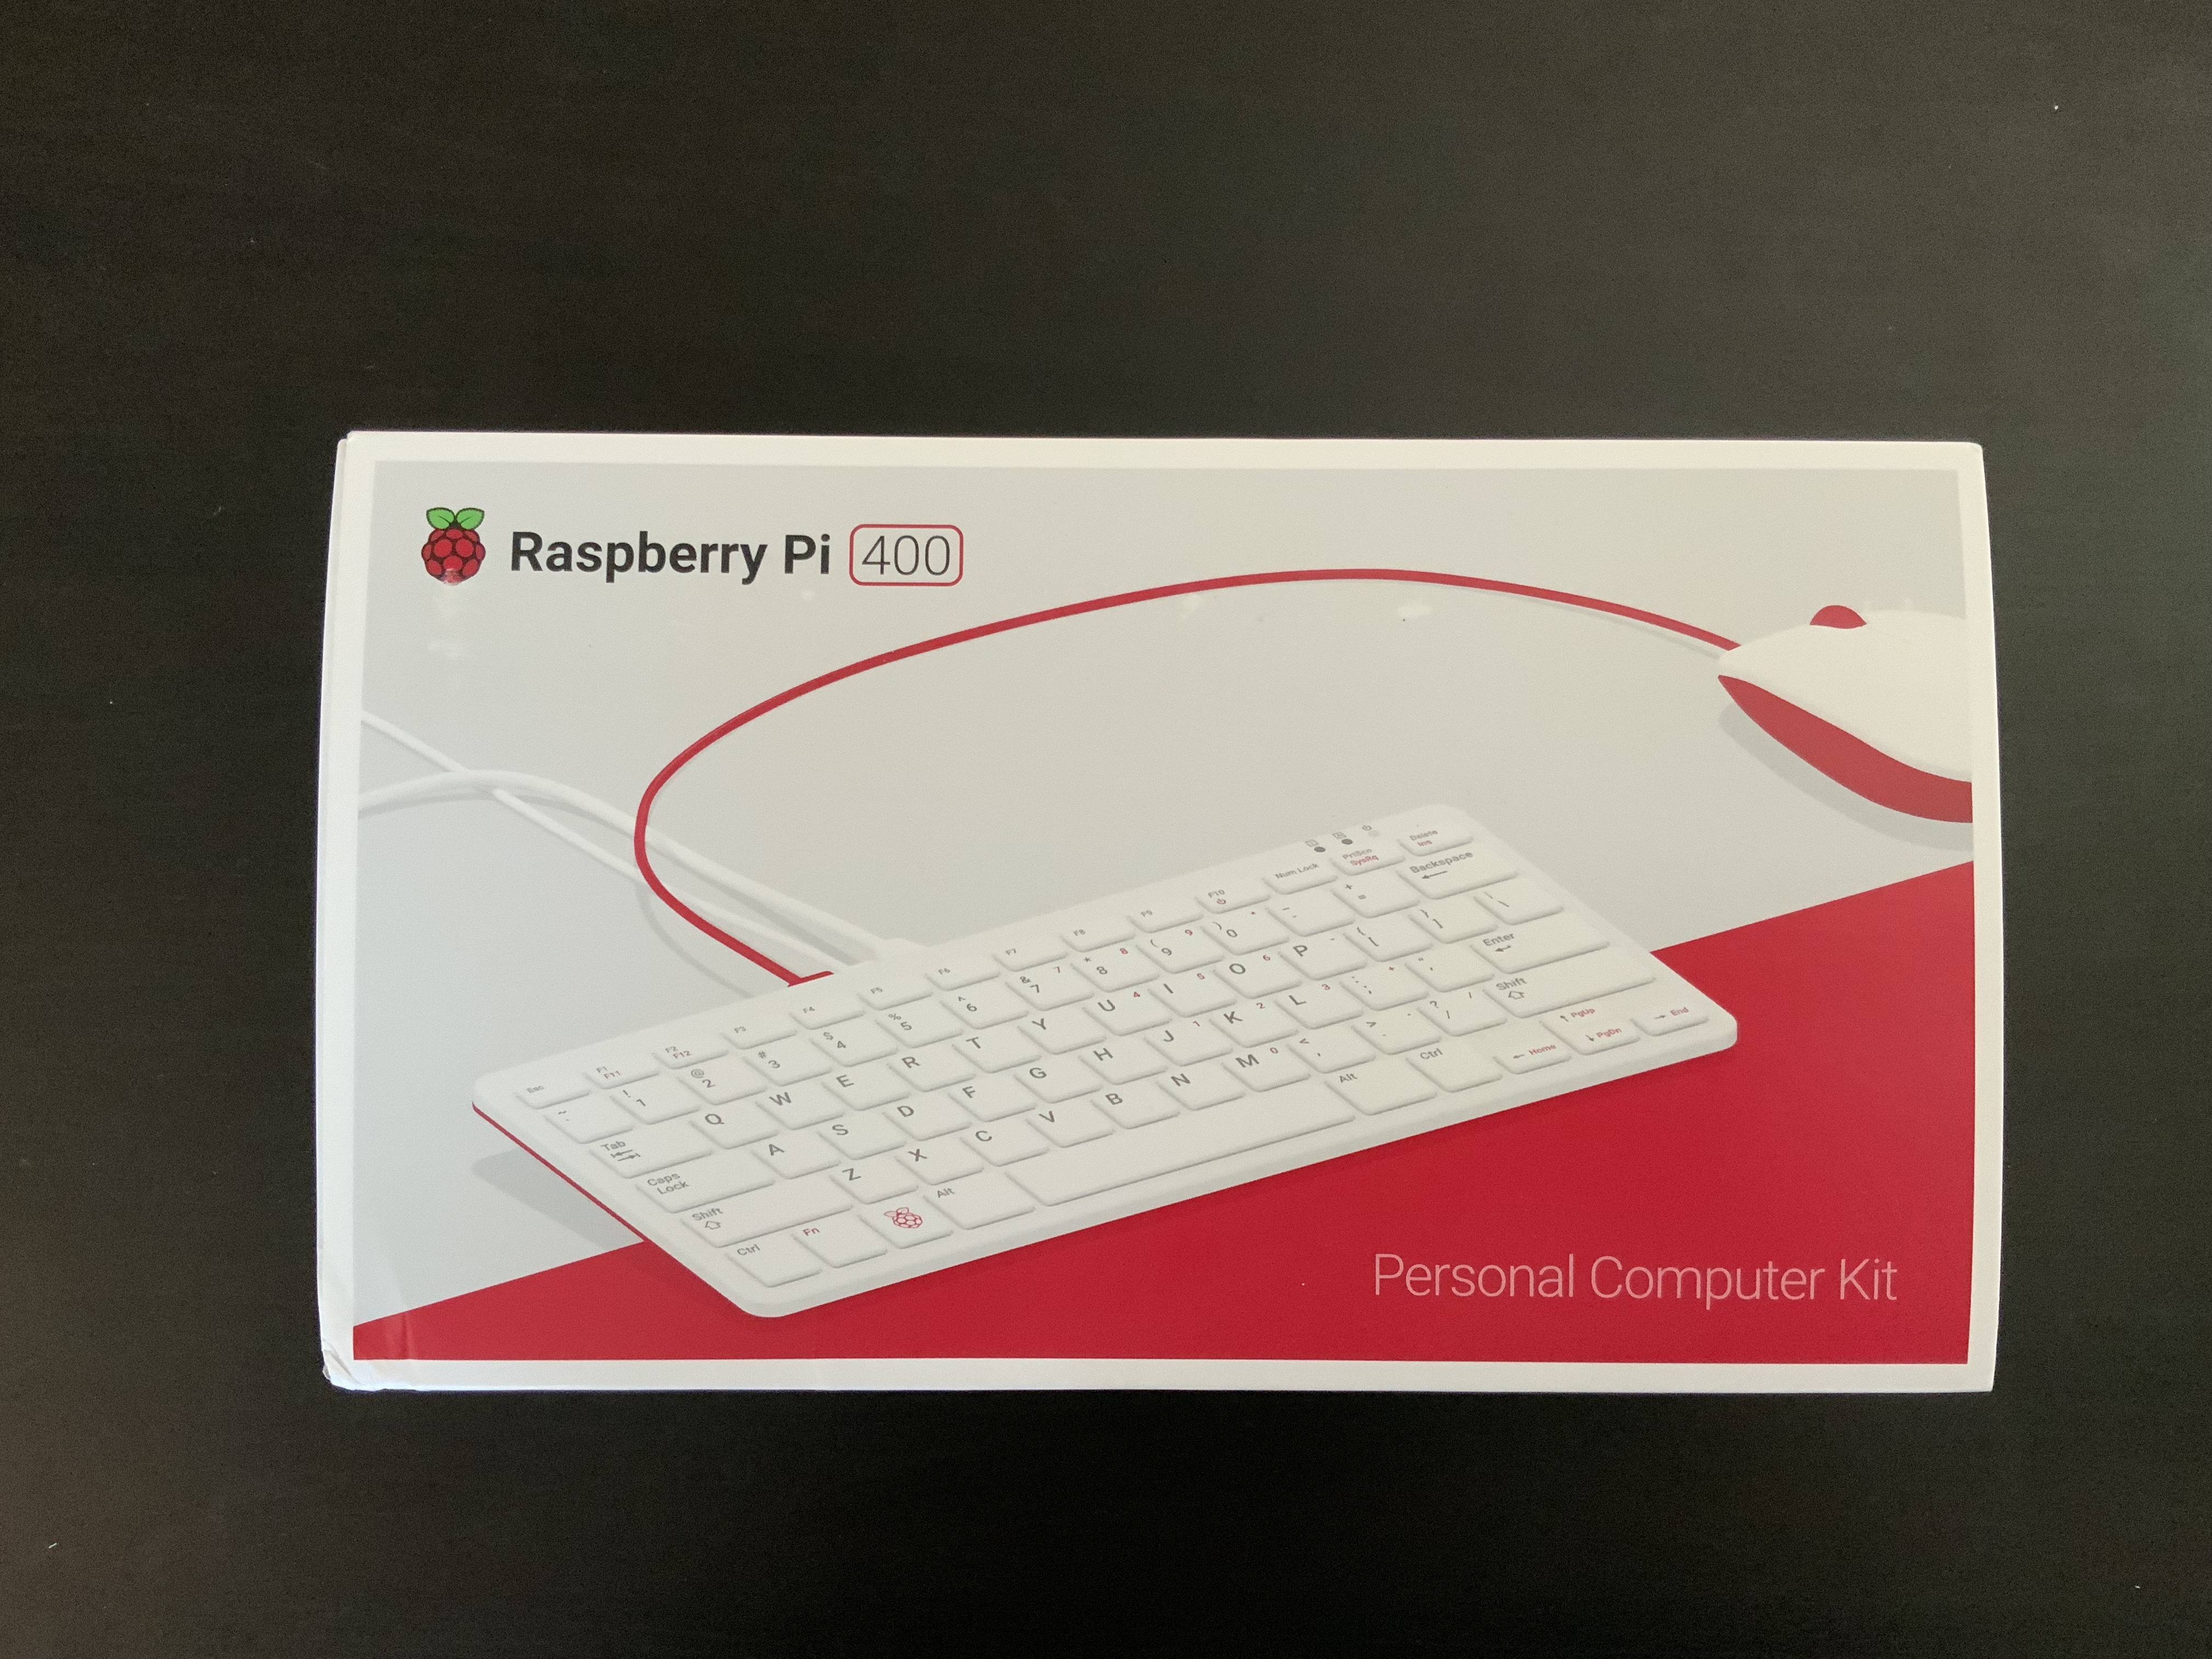
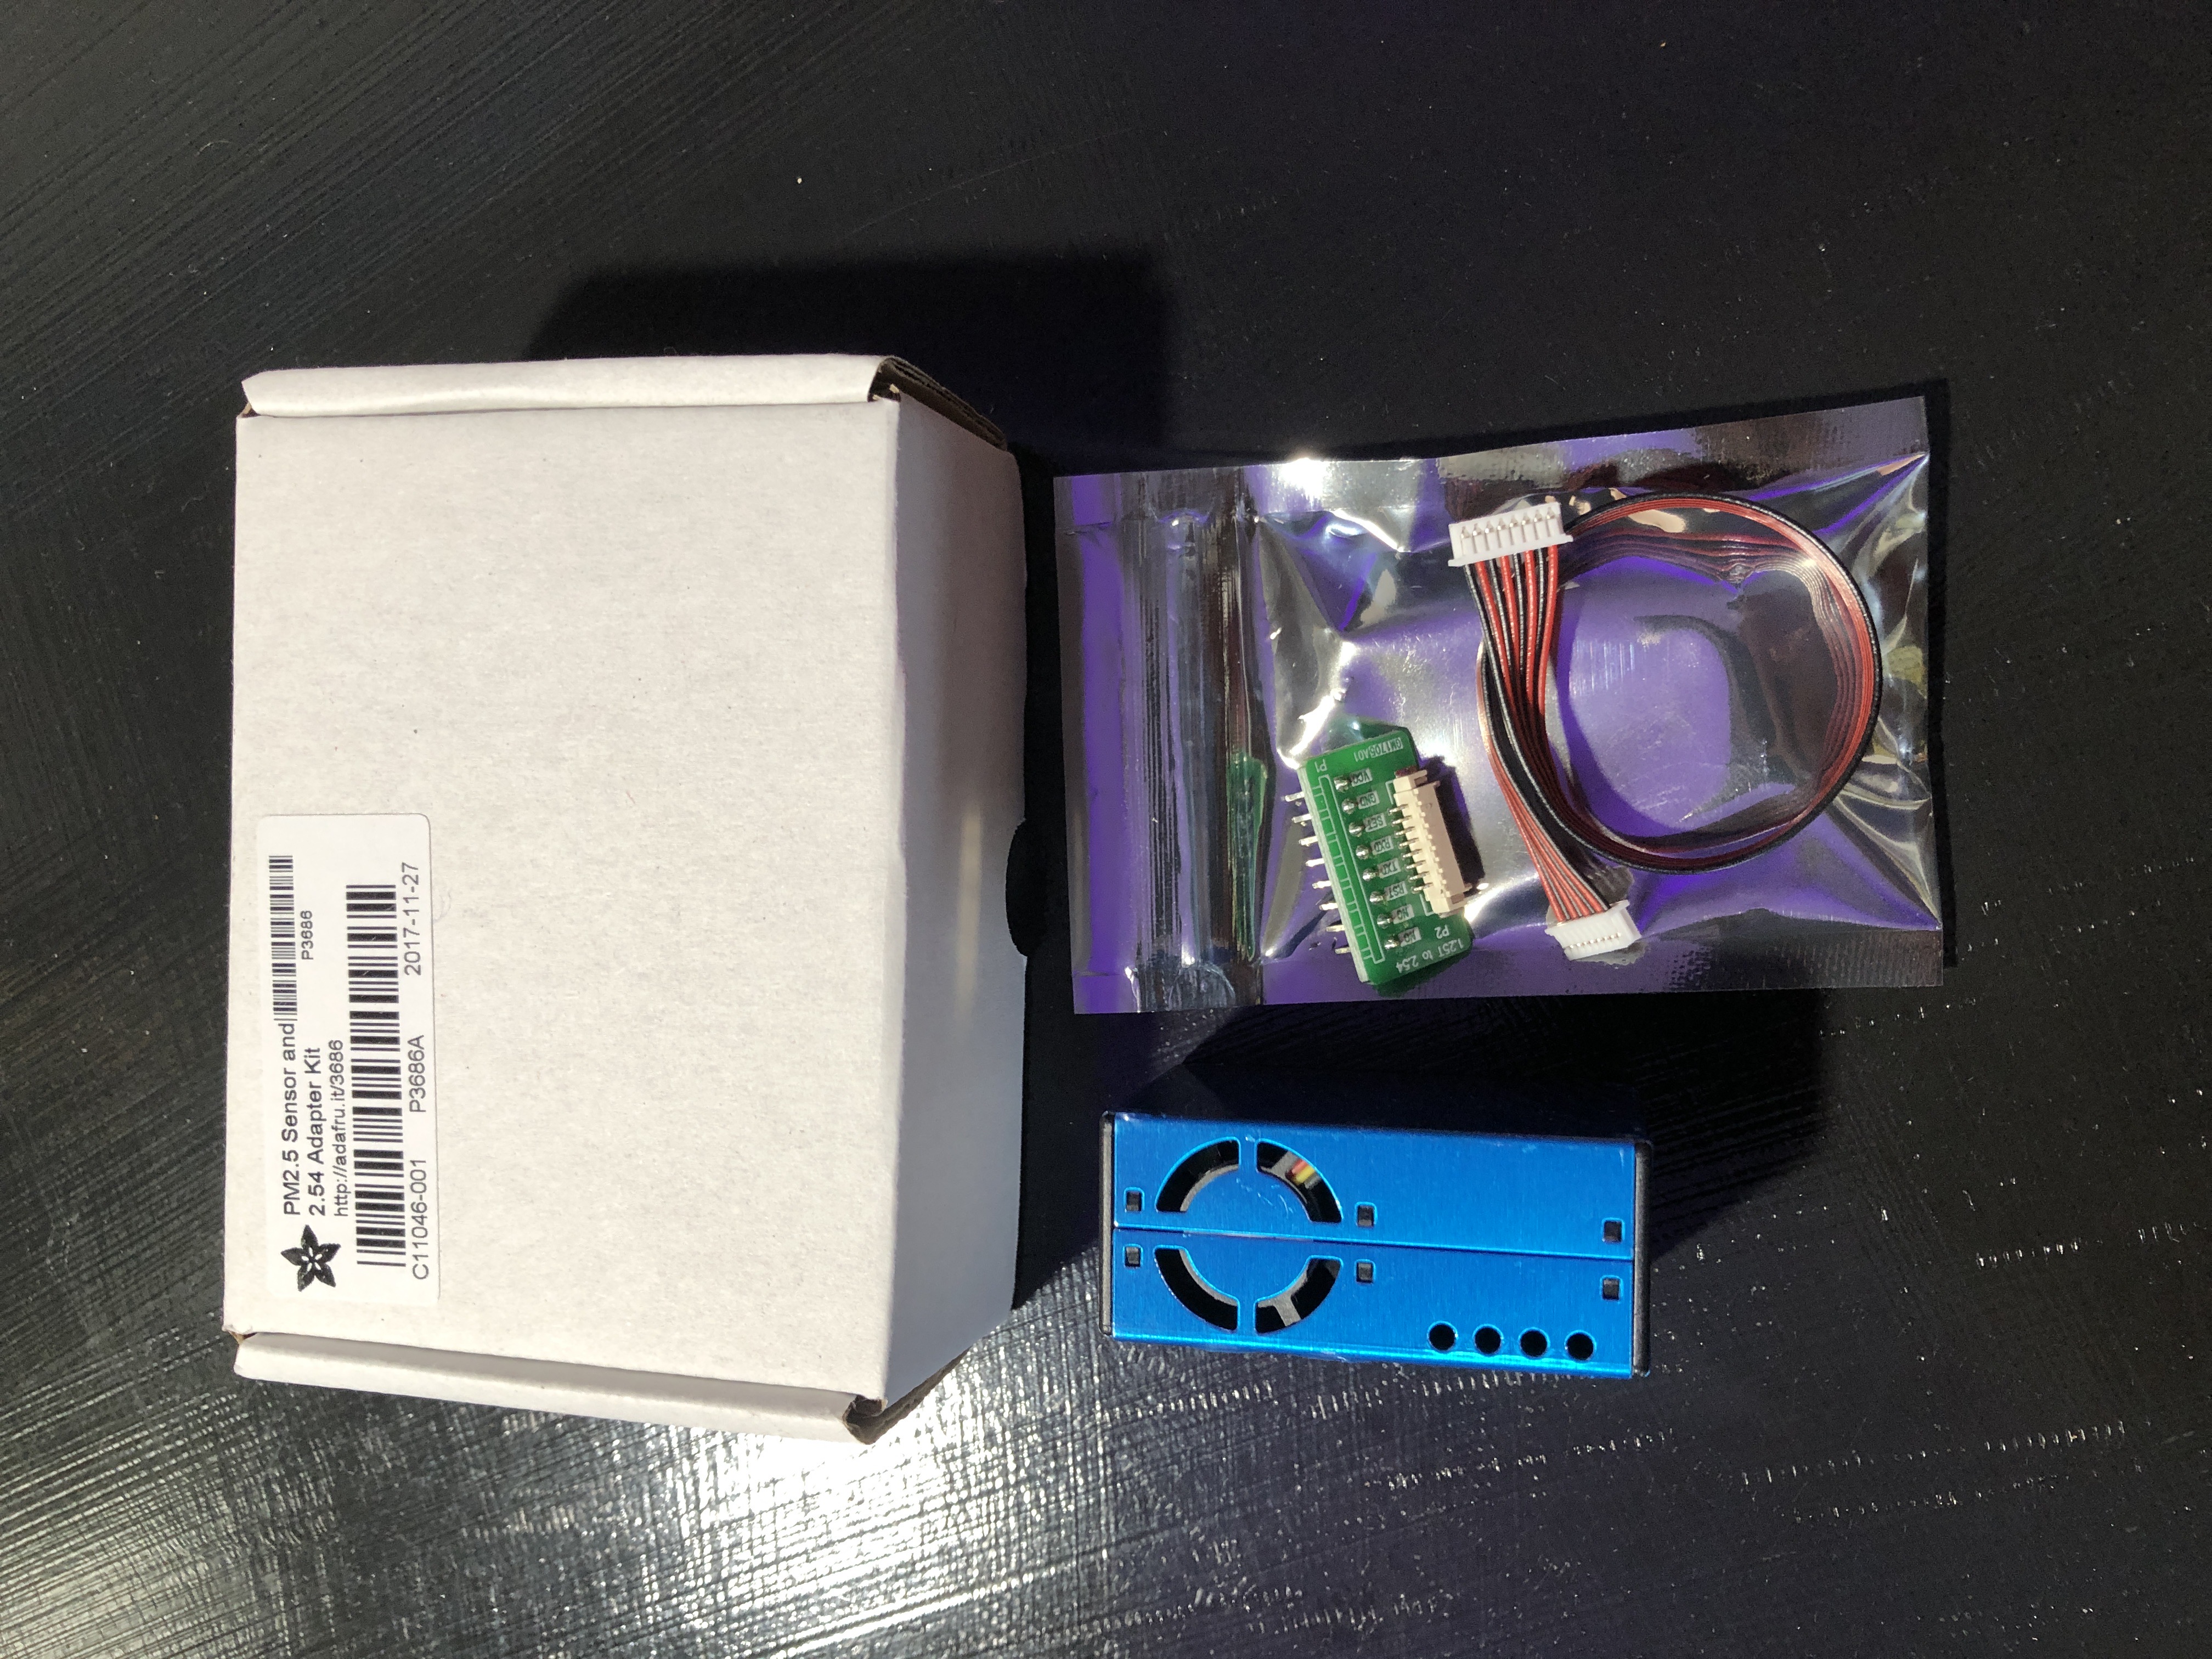
Needed Materials:
|
|
|
|

Final Product:
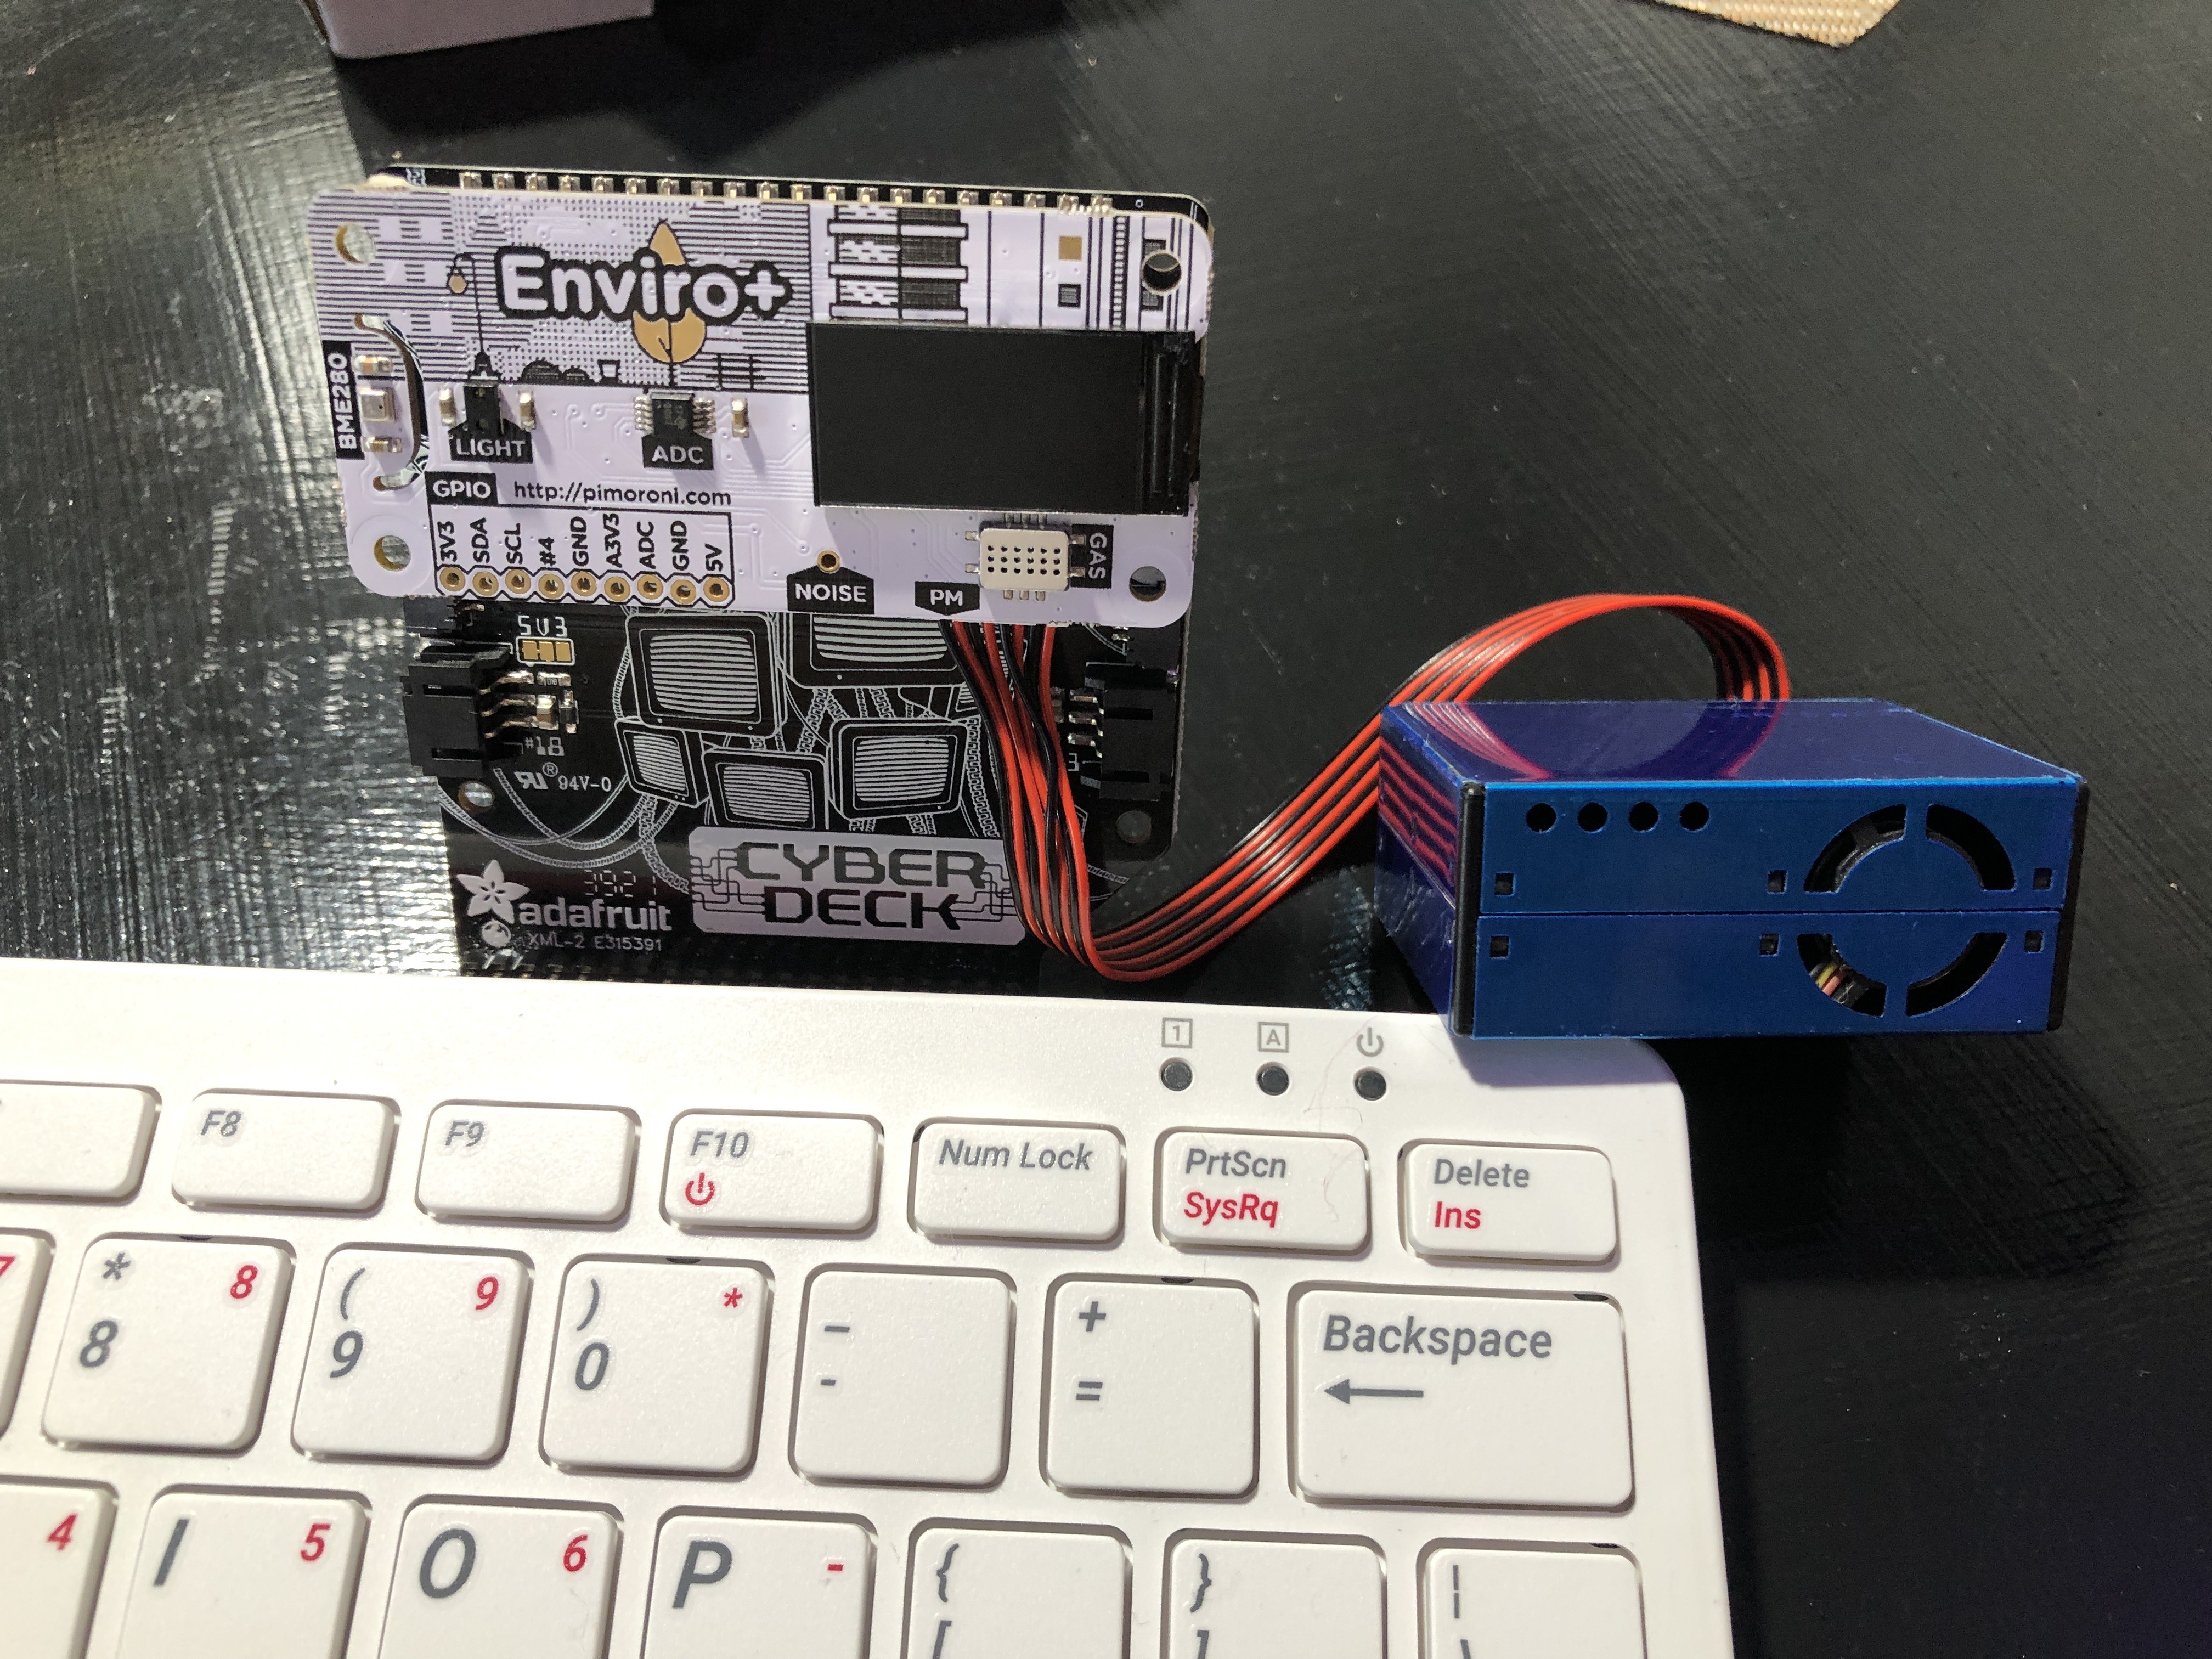
- RPi400 with Cyberdeck and Enviro+ with PM Sensor
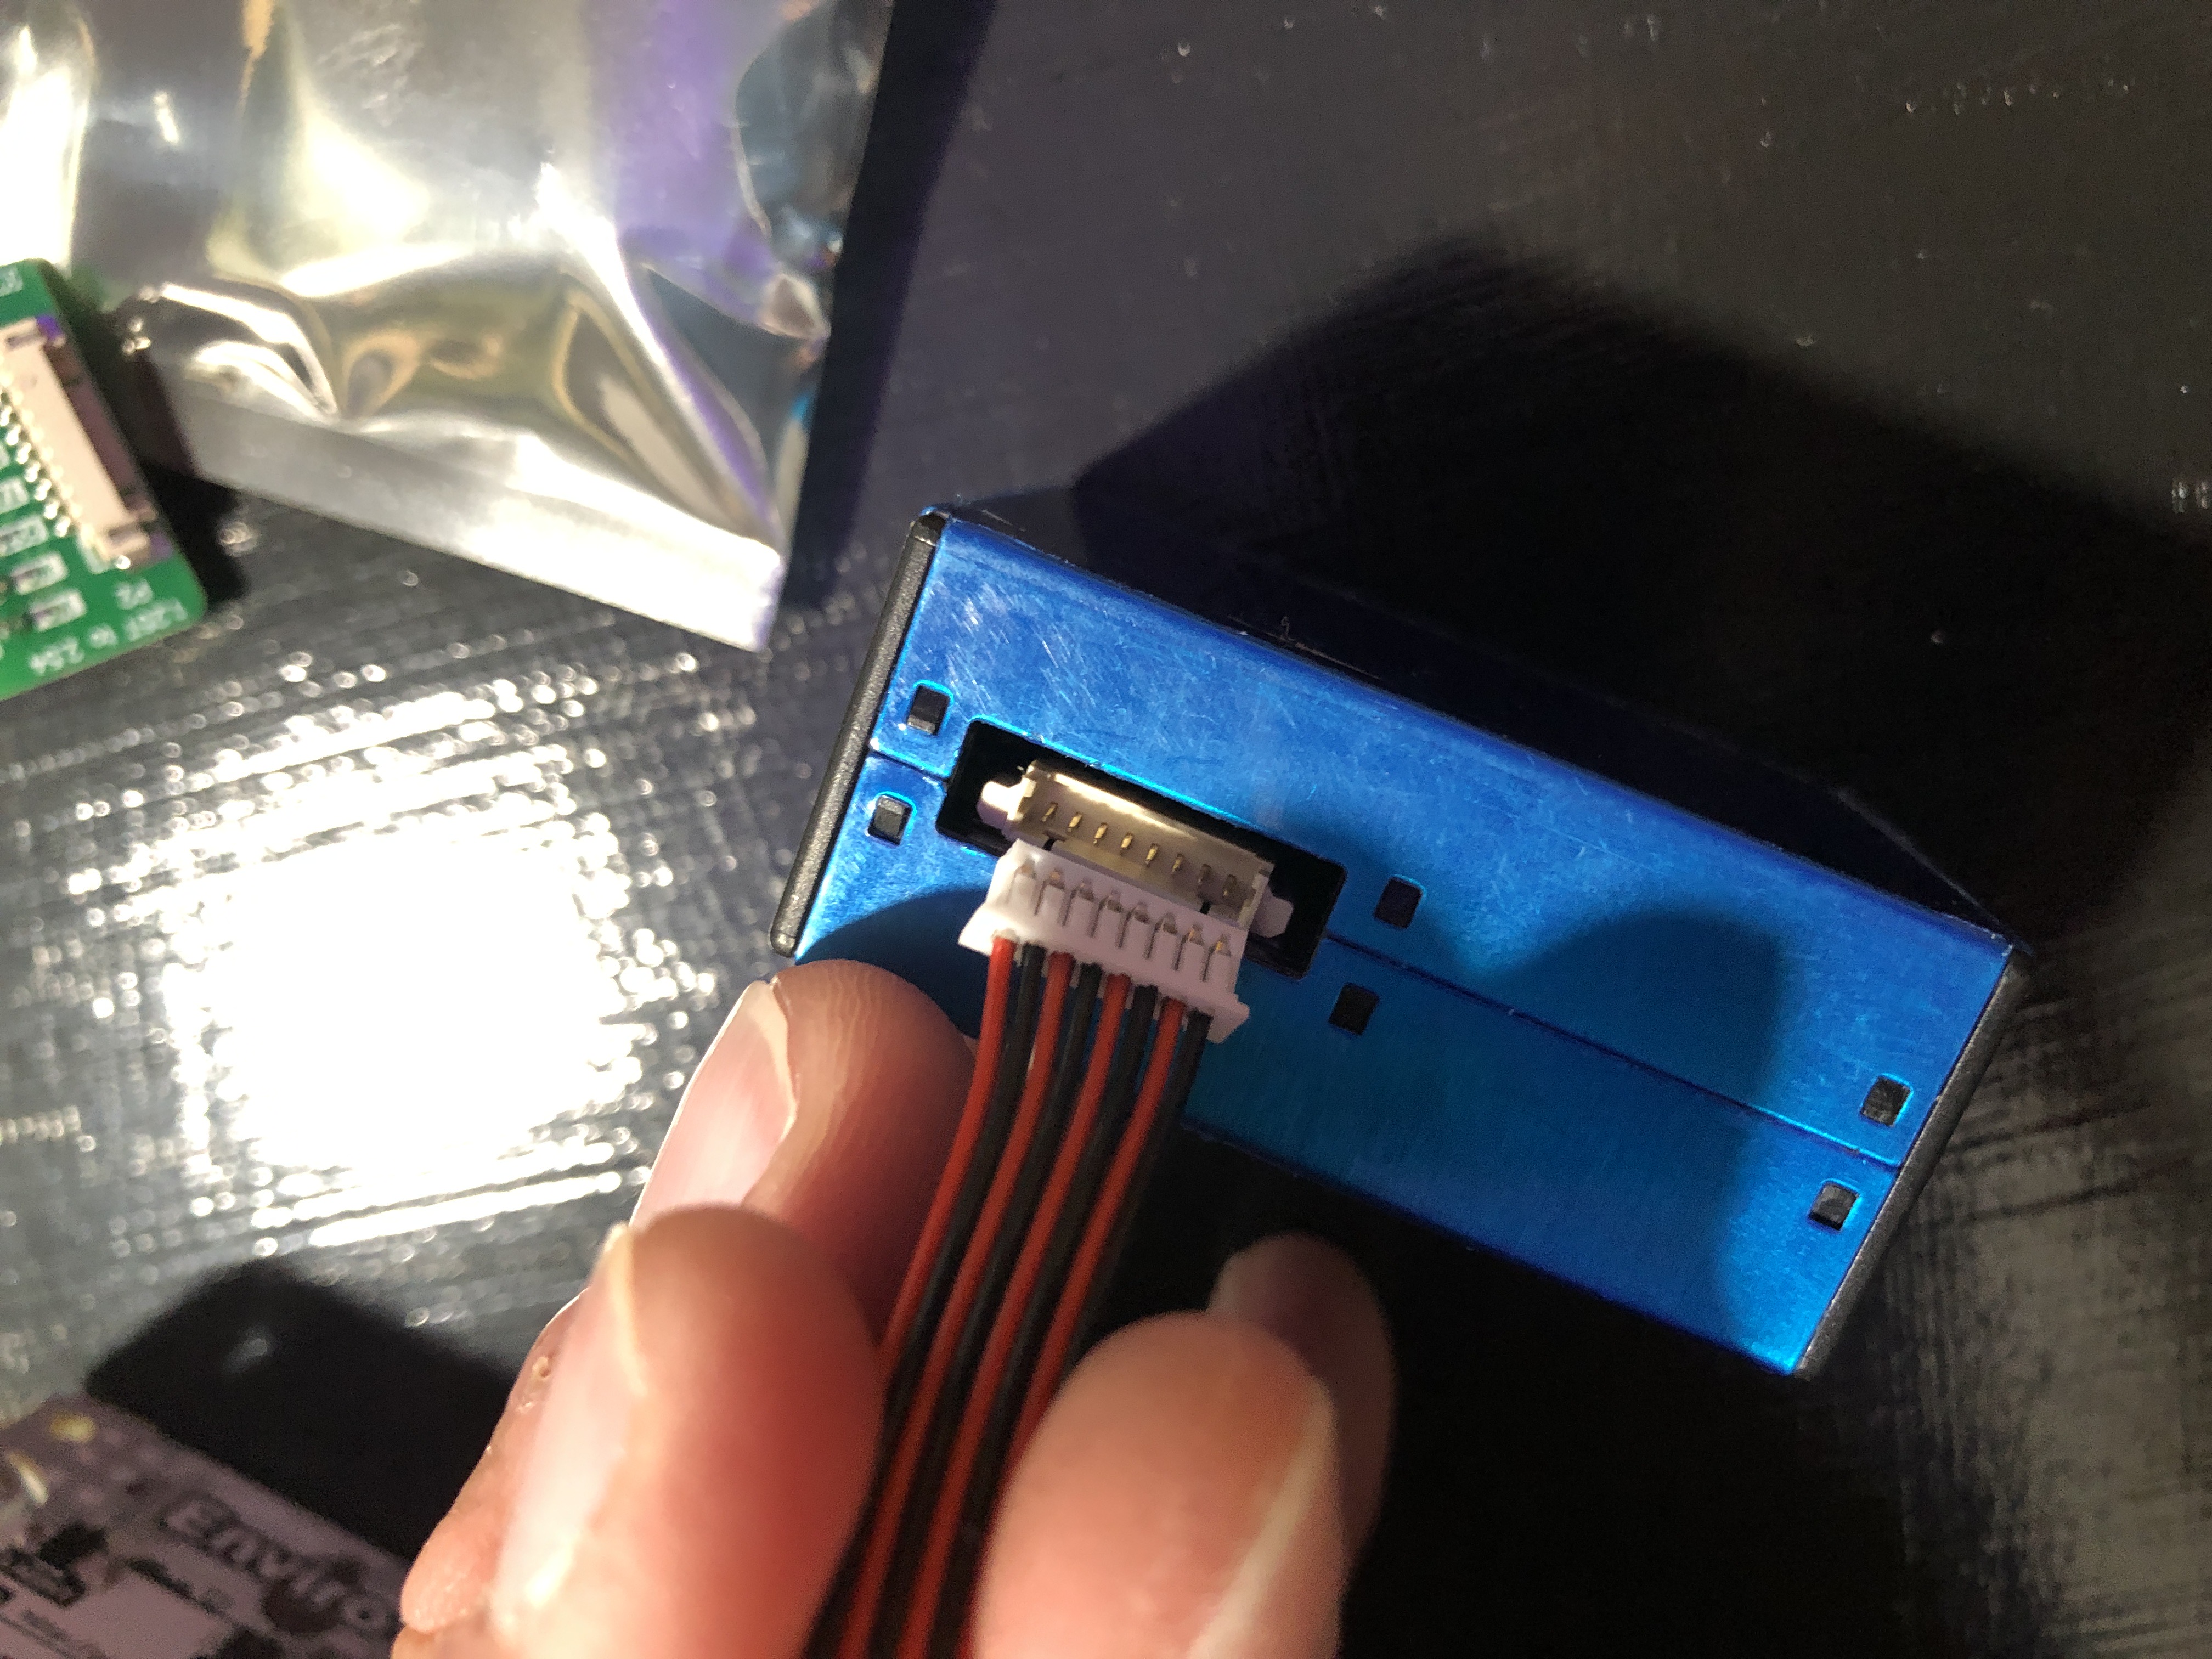
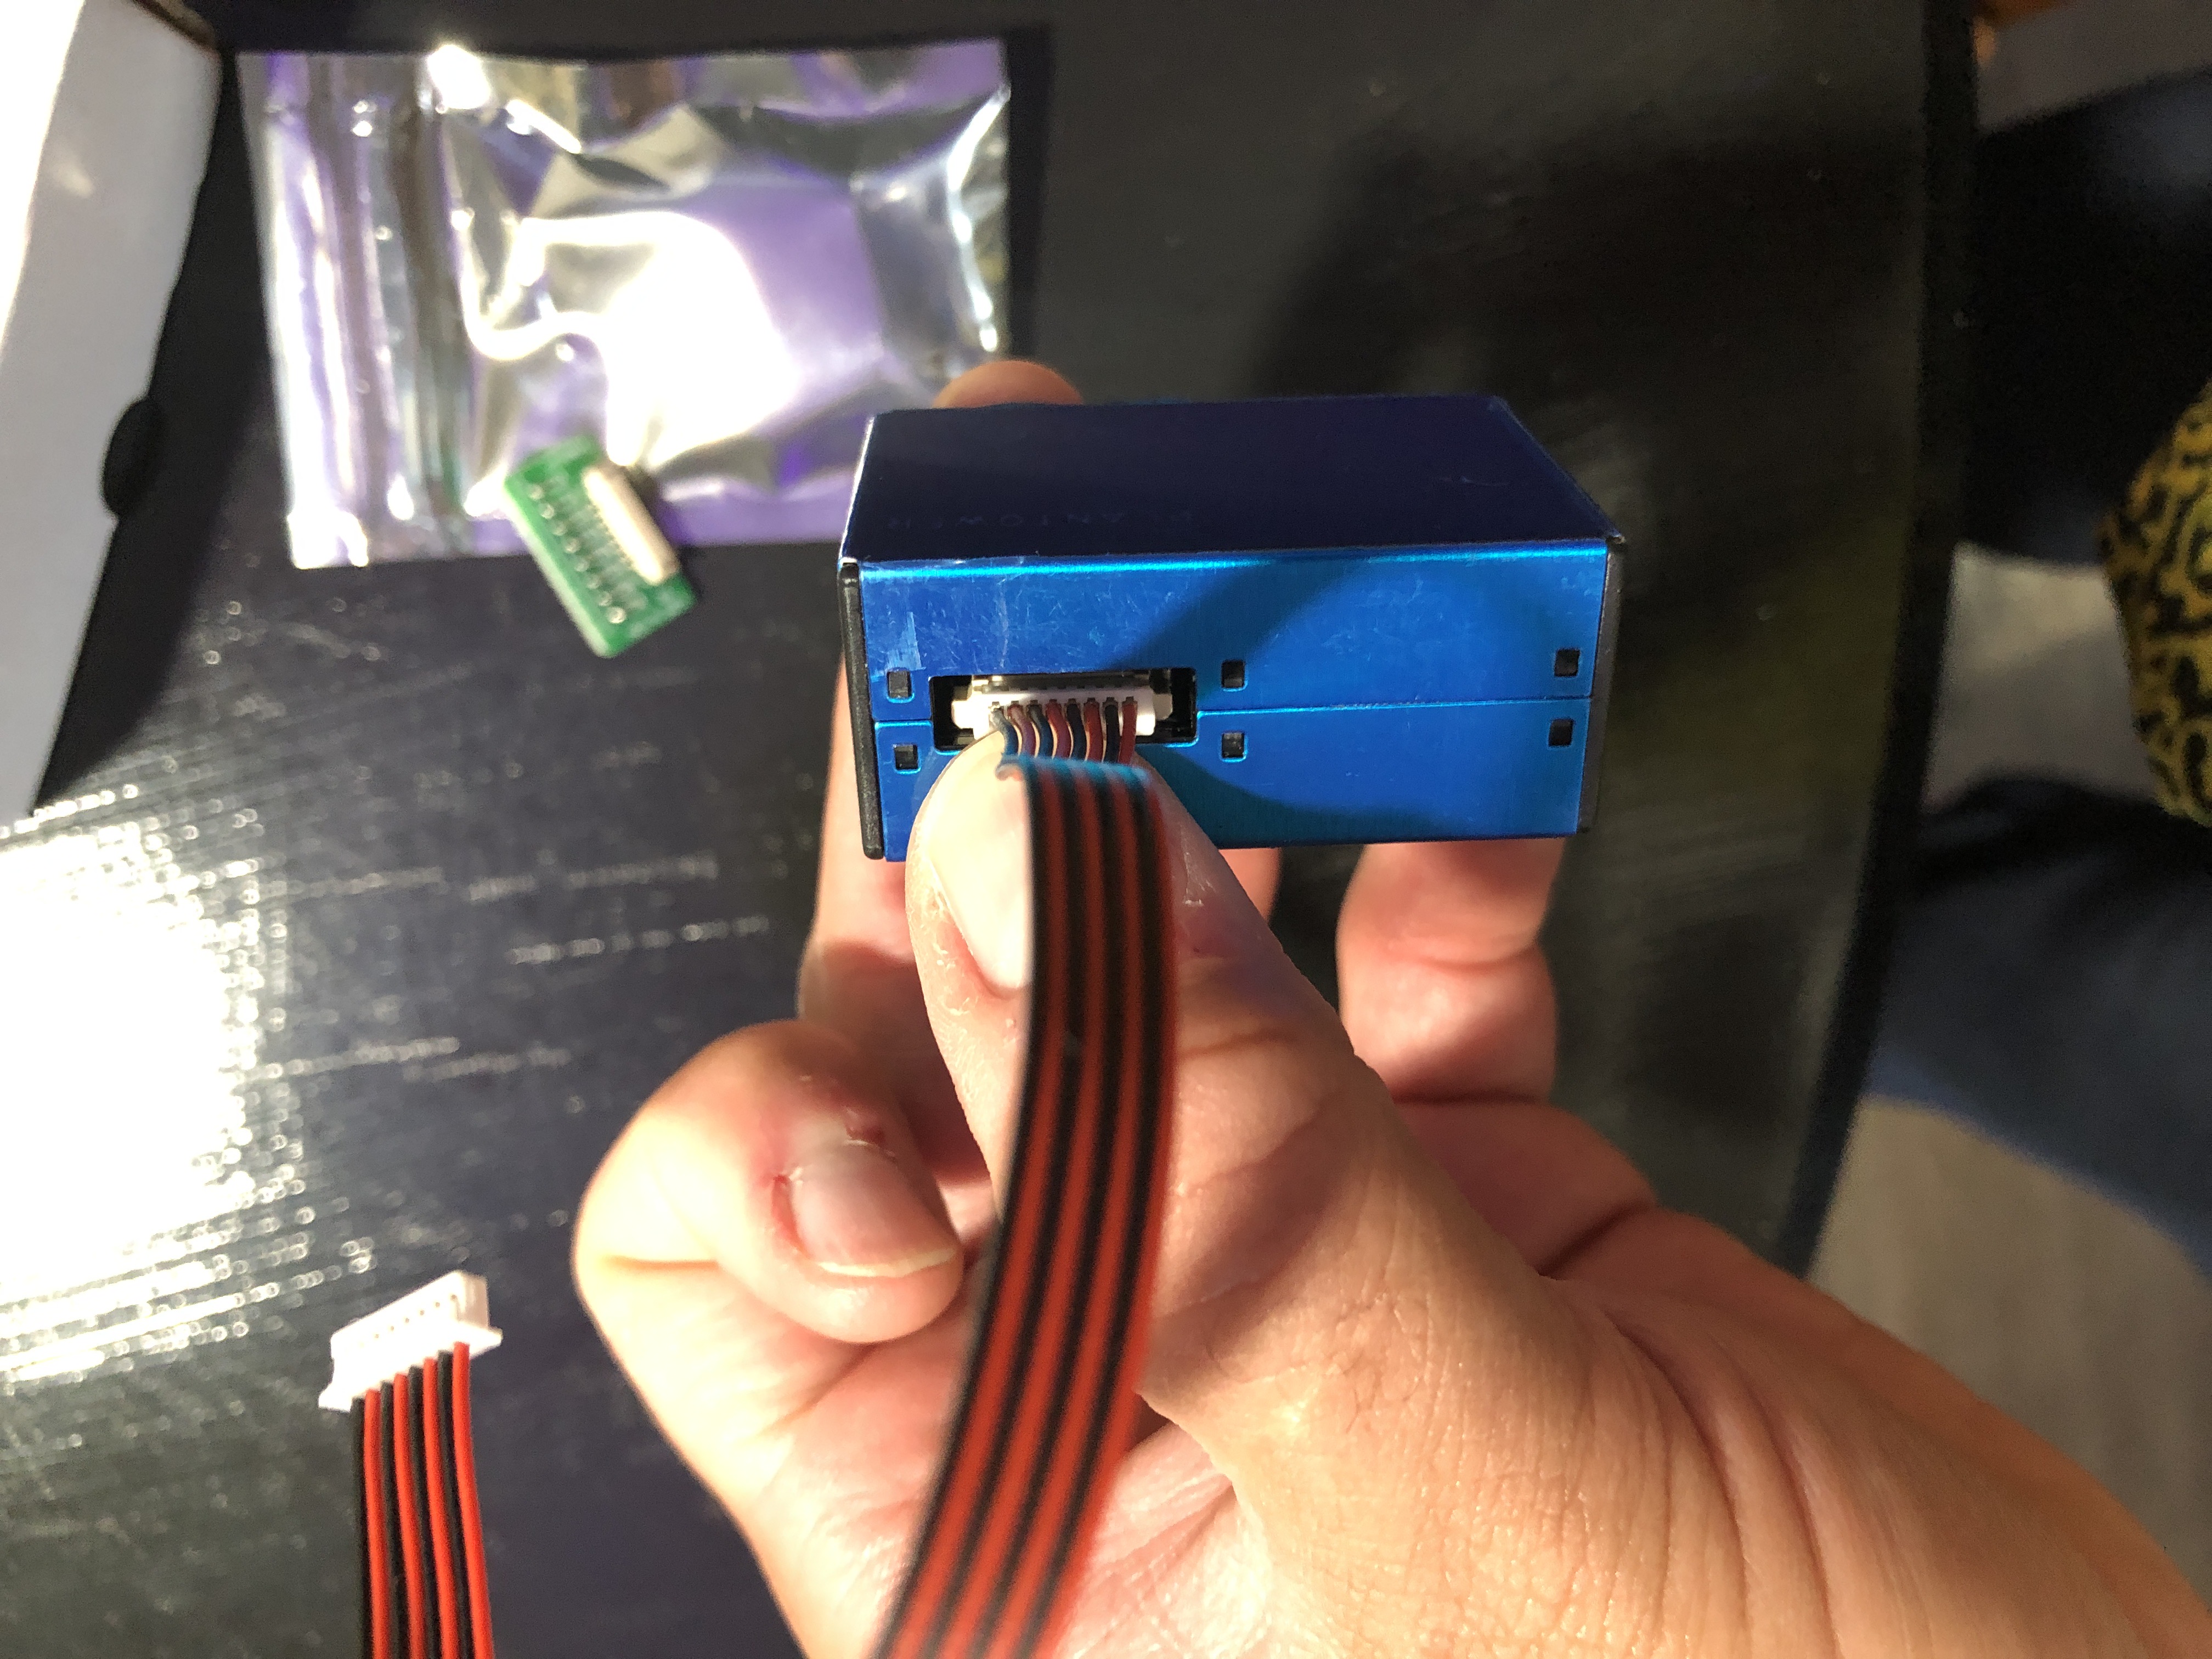
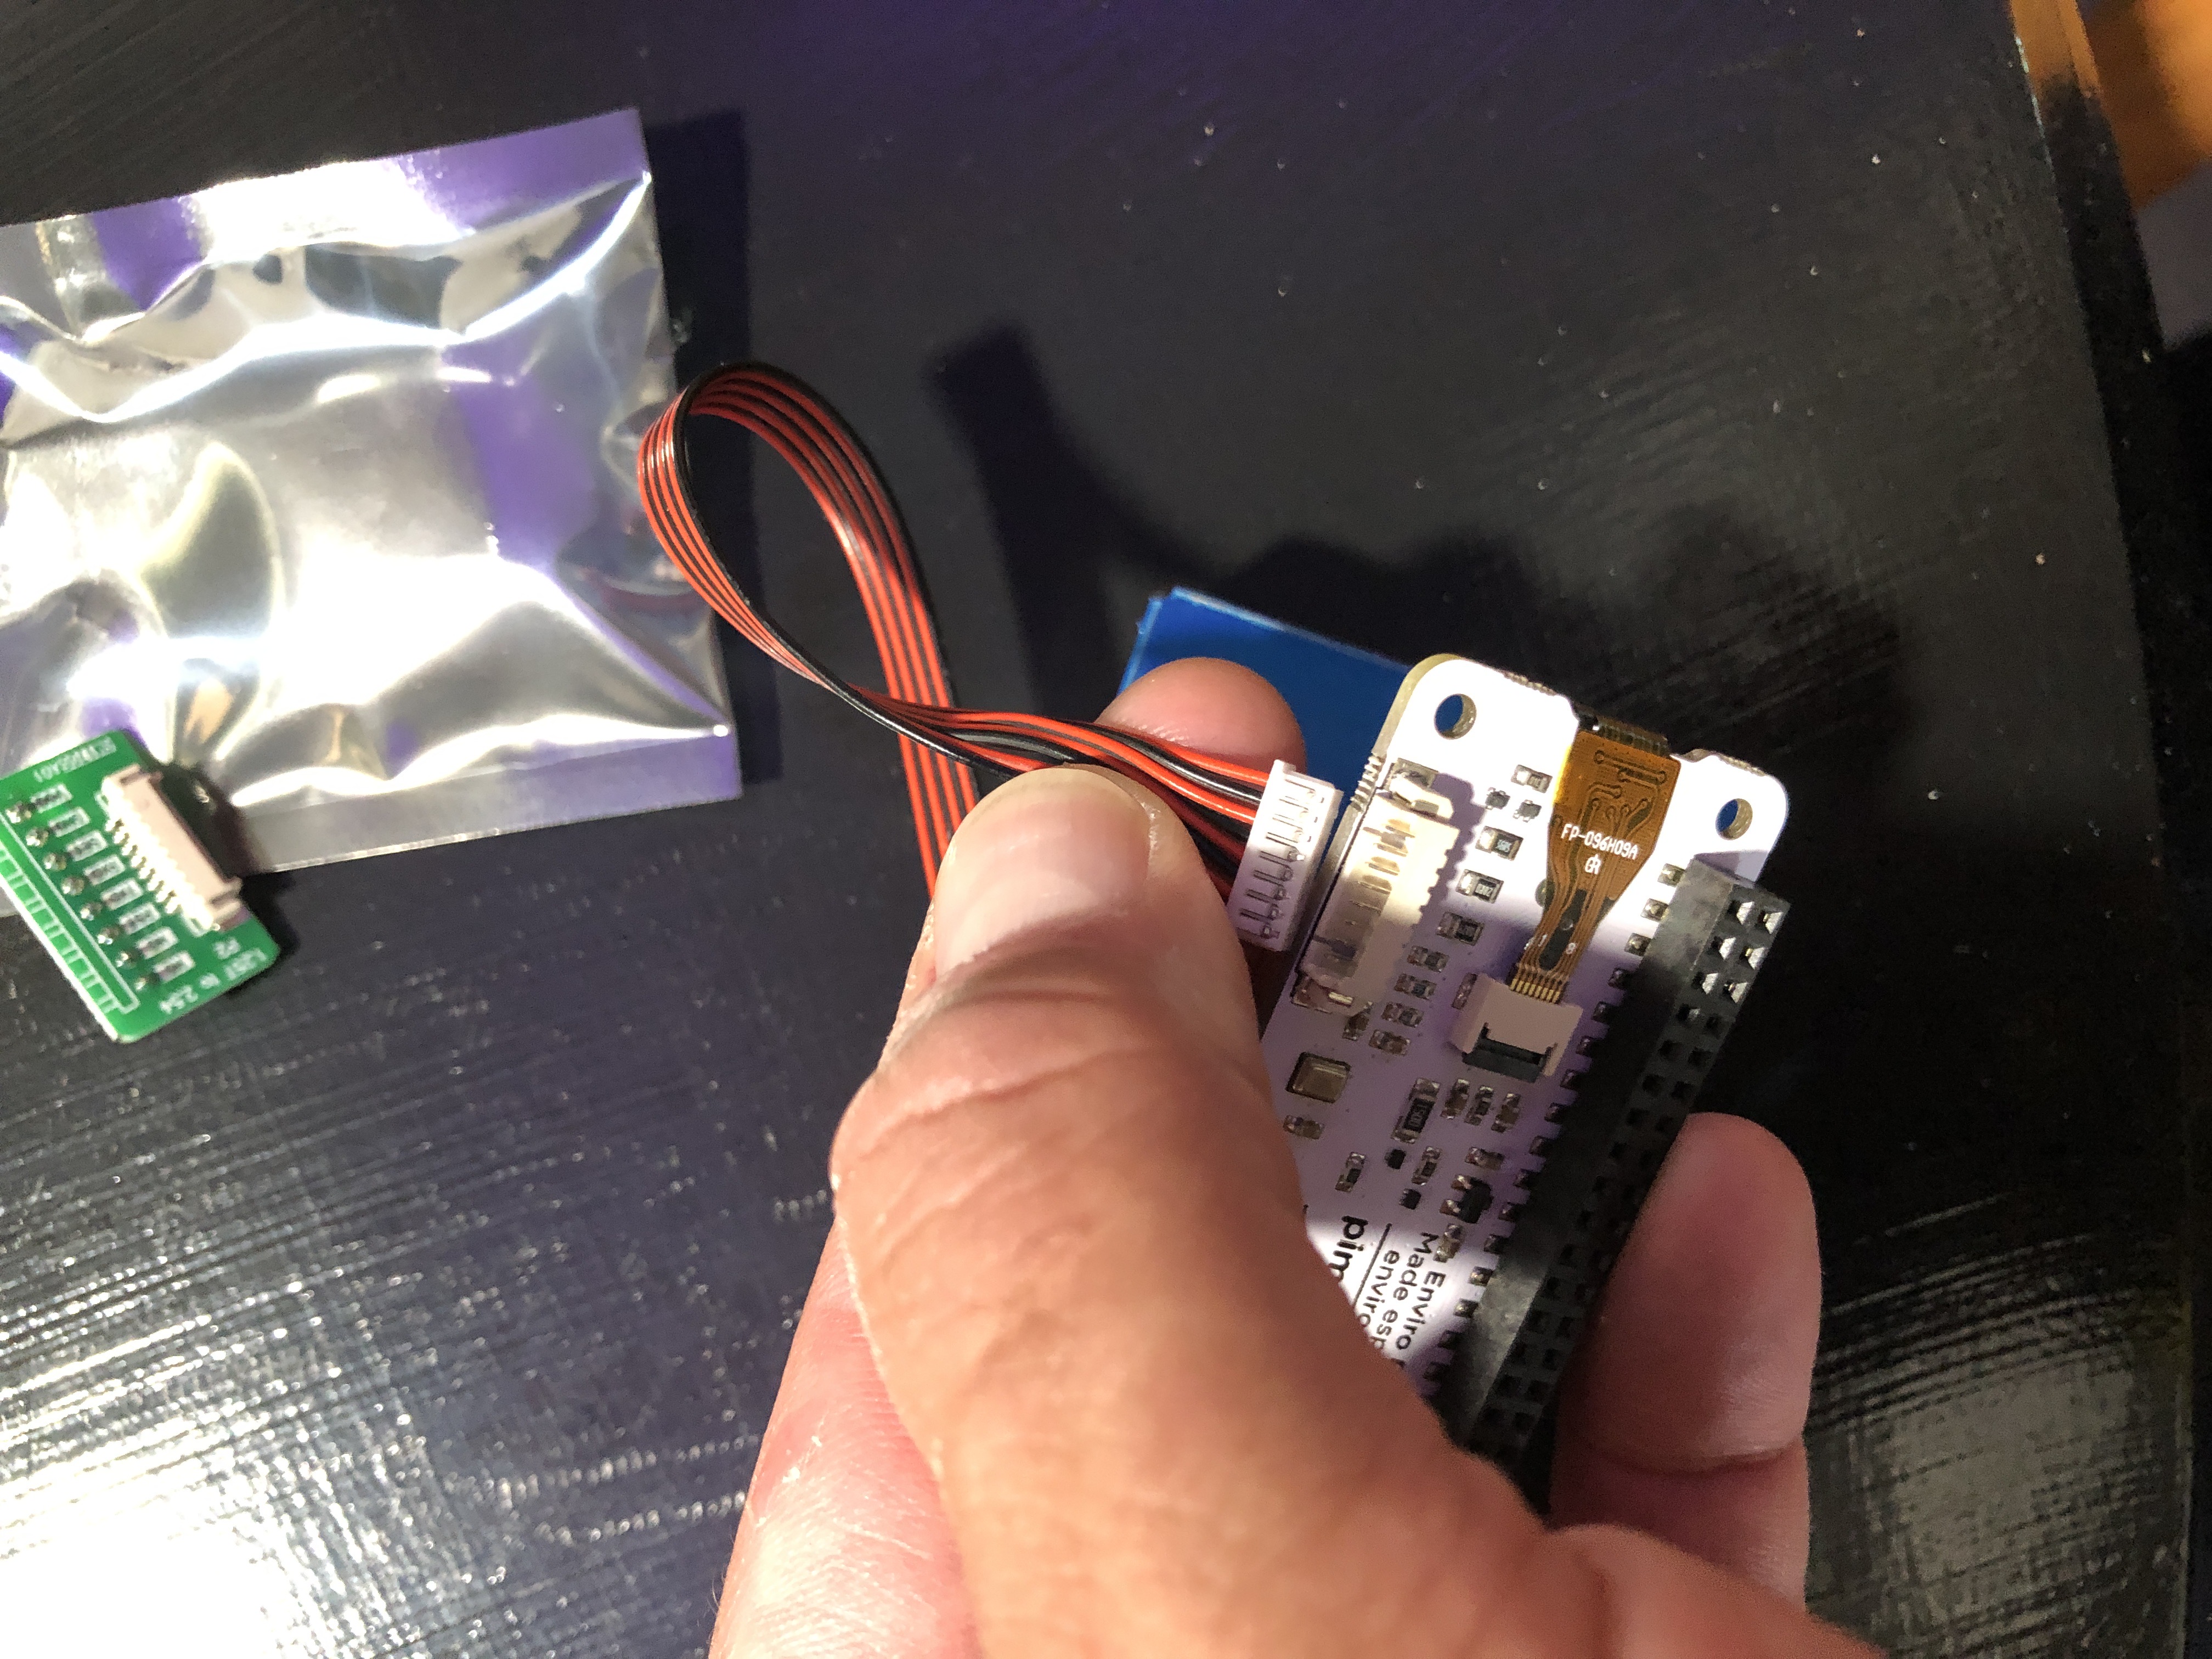
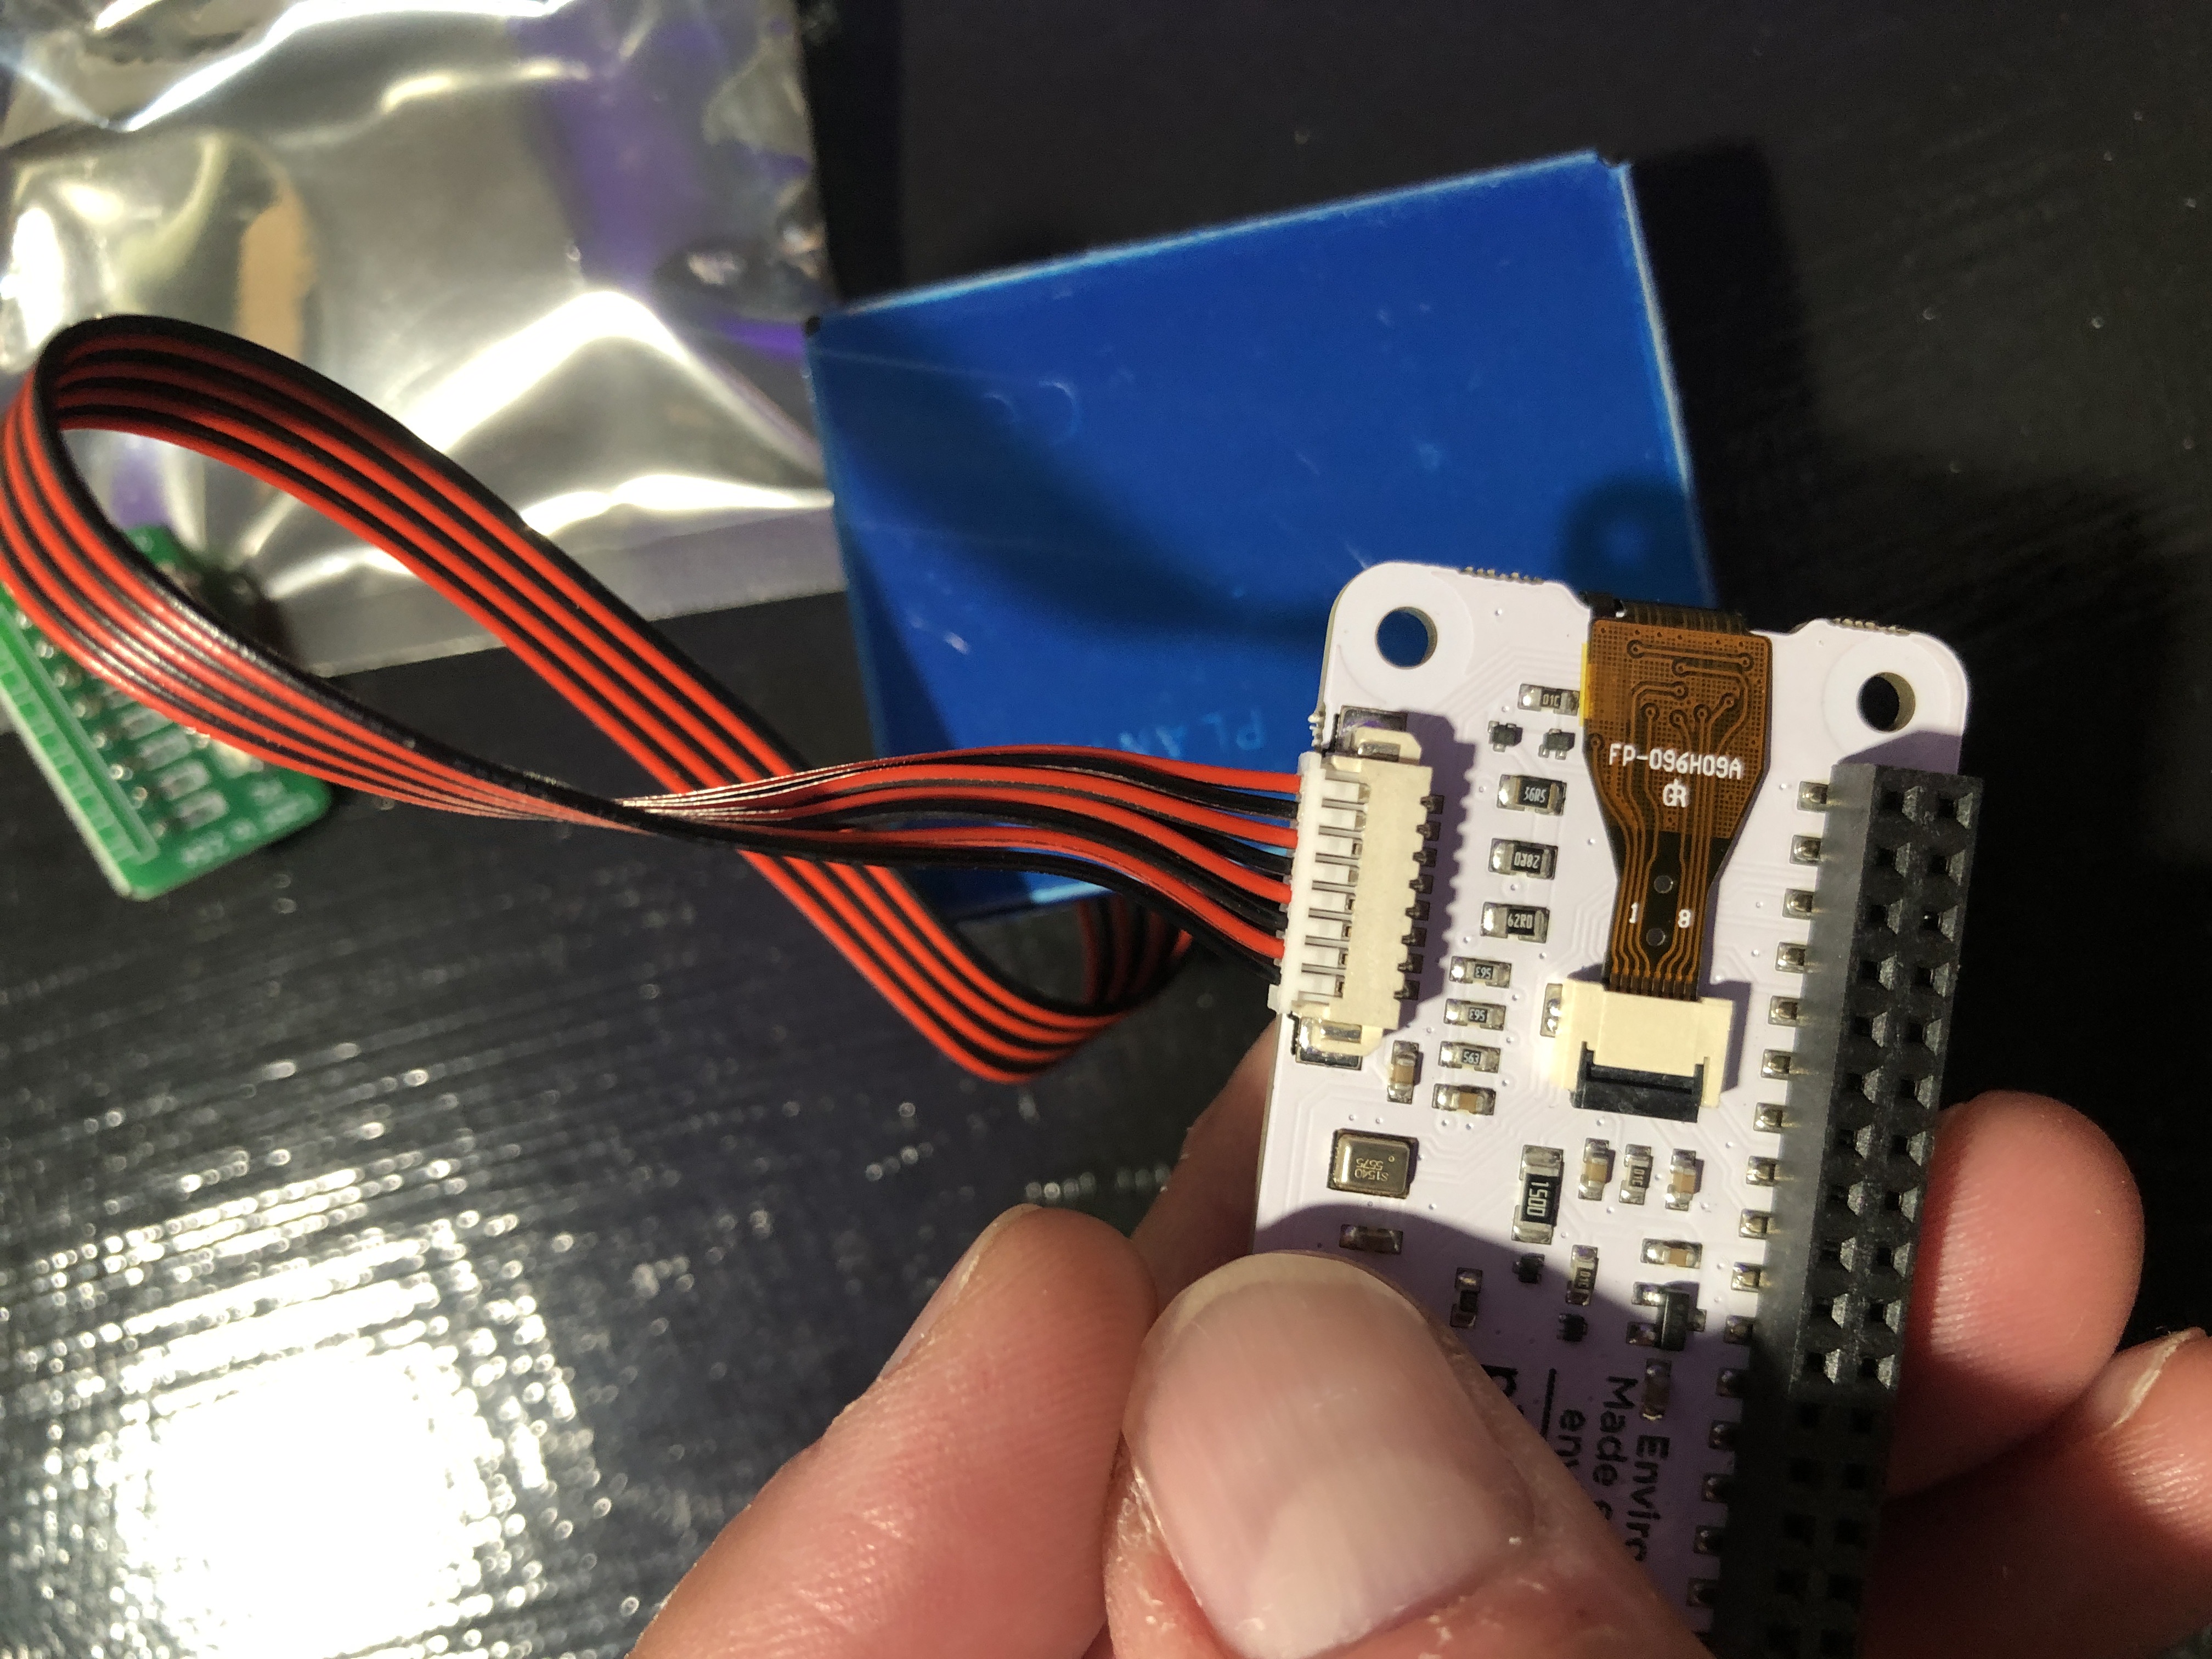
PMS5003 Particulate Matter(PM) Sensor Installation
[Note: The included cable breakout board (circuit board) will not be used.]
Do not force the cable onto the pins. This can danage the PM Sensor or Enviroplus!
Step 1: | |
|
|
Step 2: | |
|
|
Step 3: | |
|
|
Step 4: | |
|
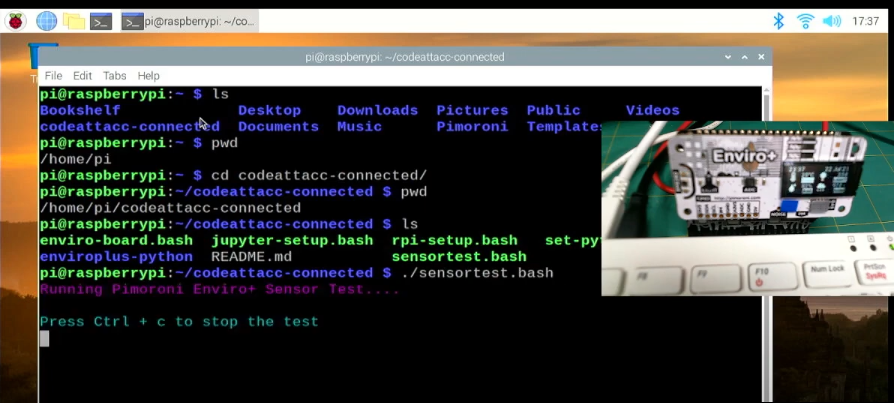
Sensor Test Code
|
Testing the Enviro+:
|
Video Walk Through
Reference - Pimoroni Enviro + Air Quality Getting Started